Often in the blog world, I find really exciting new foods that are much more expensive than their regular counterparts. Sometimes I give in, but usually I remind myself that spending $15 plus for nut butter is a little bit insane. Ahem, unless they come to me as gifts:-) However, there are occasions when I realize I can make the same item myself at a fraction of the cost.
Have you seen these websites where you can build your own chocolate bar? The companies have all sorts of fun ingredients from dried fruit and nuts to cereals and spices. I’ve checked out this website and this one too, but the high cost has kept me from ordering anything. Lucky for me, and you, this is something fairly easy to do on your own! Here is a very easy recipe for Mix and Match Chocolate Bars.
Step 1: Pick out your ingredients.
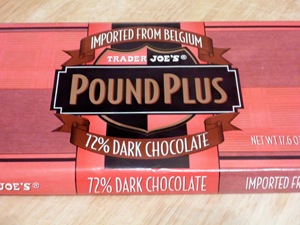
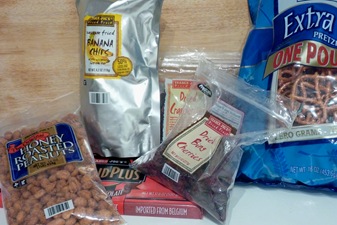
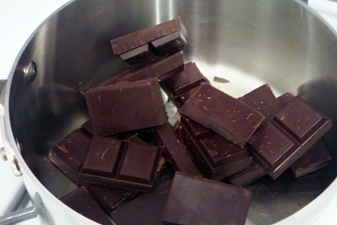
The most important part is to pick a good tasting chocolate. If the chocolate you start with doesn’t melt in your mouth and give you that rich satisfying flavor, the final result isn’t going to either. I found Pound Plus 72% Belgium dark chocolate at Trader Joes for just a few dollars! Note that you could make almost a dozen large chocolate bars for this amount of chocolate! You could use white or milk chocolate as well.
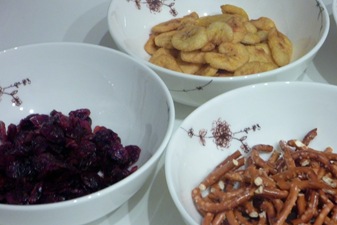
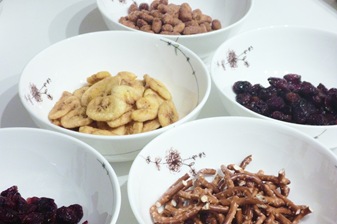
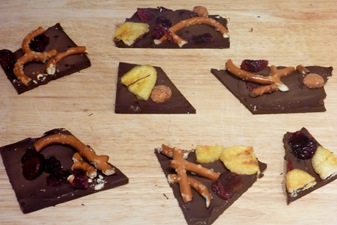
As for toppings, feel free to use those websites for inspiration. Go with whatever flavors you like. I knew I wanted to have contrasting flavors and textures so I went with pretzels and peanuts for a crunchy and salty as well as a selection of dried fruits for chewy, tart and sweet. You probably only need about 3 cups total of toppings per pound of chocolate.
Step 2: Set up your space.
You will need 1 medium pot or microwavable bowl for melting your chocolate and a jelly roll pan lined with parchment paper.
For ease of working, you will want to lay out your toppings so that they are easy to access once the chocolate is ready to decorate.
Step 3: Melt the chocolate.
If you do this via microwave, take it slow. Once the chocolate is about 75% melted stir it to eliminate any remaining clumps.
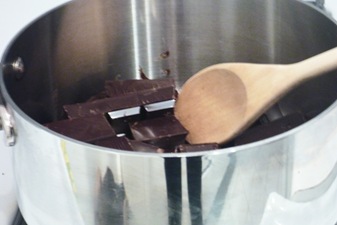
On the stovetop, work with low heat and stir constantly. Again, remove the pot from heat a little before the chocolate is completely melted and stir the rest.
Step 4: Make your chocolate bar!
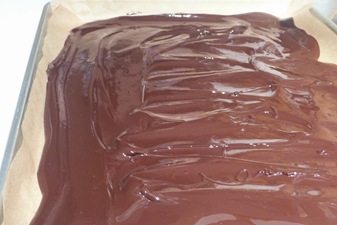
Spread the melted chocolate out on parchment paper to be about ¼ inch thick.
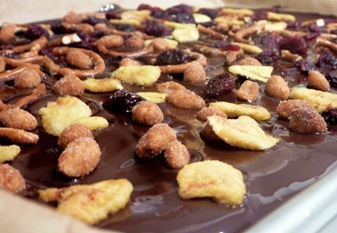
As soon as it is smoothed out, decorate it with your toppings. Lightly push the nuts/candies/cereal pieces, etc. into the chocolate so that they will stay when it gets hard. Imagine what you want to get in one bite and let that be your inspiration for how dense you want your toppings to be.
Once you finish, let the chocolate cool and harden. Cut bars to desired size. I actually made mine more like bark because I thought it would be better for serving.
Store finished product in an airtight container (5 days) or refrigerator (up to 2 weeks).
Oh, and buy yourself something nice because you saved money on fancy candy bars!
Notes:
Don’t let the chocolate get wet at any point. Your chocolate will discolor.
You can customize this recipe to do as much or as little as you want at a time.
This could make a great gift for the holidays . Use crushed candy cane or ginger snaps for a festive theme.
[print_this]
Mix and Match Chocolate Bars
Ingredients:
1 pound of chocolate of your choice
3 cups of fun toppings
Directions:
Line jelly roll pan with parchment paper and set aside.
Layout toppings to be easily accessible.
Melt the chocolate on stovetop or in microwave, being careful not to burn.
Spread the melted chocolate out on parchment paper to be about ¼ inch thick.
As soon as it is smoothed out, decorate it with your toppings. Lightly push the nuts/candies/cereal pieces, etc. into the chocolate so that they will stay when it gets hard. Imagine what you want to get in one bite and let that be your inspiration for how dense you want your toppings to be.
Let the chocolate cool and harden. Cut bars to desired size.
Store finished product in an airtight container (5 days) or refrigerator (up to 2 weeks).
[/print_this]
What is an expensive food product that you refuse to buy even though you REALLY REALLY want it?

this is such a great idea for gifts!!!
That looks delicious and super easy! My only question is what is parchment paper and where do you get it? I never heard of it! :)
What a fabulous idea!!! They look great.
I didn’t think the post title could get any better than eat chocolate… but when you followed it up with save money, I had to keep reading! Thanks for sharing! This is an excellent idea!
What a great idea – that looks so good!
what a GREAT idea! this looks amazing! It would be a fun thing to do with guests as well!
Wow, this is really nice, this way I can make mix into the chocolate the stuff that I like :-) Great idea!
YUM! this is a fabulous idea for Christmas and birthday presents!
YUMMM!!!!!